Showing posts with label crafts. Show all posts

Monday, October 23, 2017

Sticker Pumpkin Activity


Beatrix loves to play with stickers and this is a new and fun way to do just that!

All you need is a pumpkin and some stickers! We used some adorable Halloween stickers we got at a Halloween party we recently attended. Beatrix especially likes that she can peel the stickers up and reposition them over and over.


We have done this activity three or four times now. It is a great project for her to do while I am preparing a meal. She does occasionally need a little help peeling up the stickers, but if I lift the corners of a few of them at a time she is good on her own for a little while.


When she is done, it makes a cute little centerpiece for our table! (And then it is right there ready to go for when she wants to add some more stickers!)


Easy Pumpkin Craft for Toddlers and Preschoolers


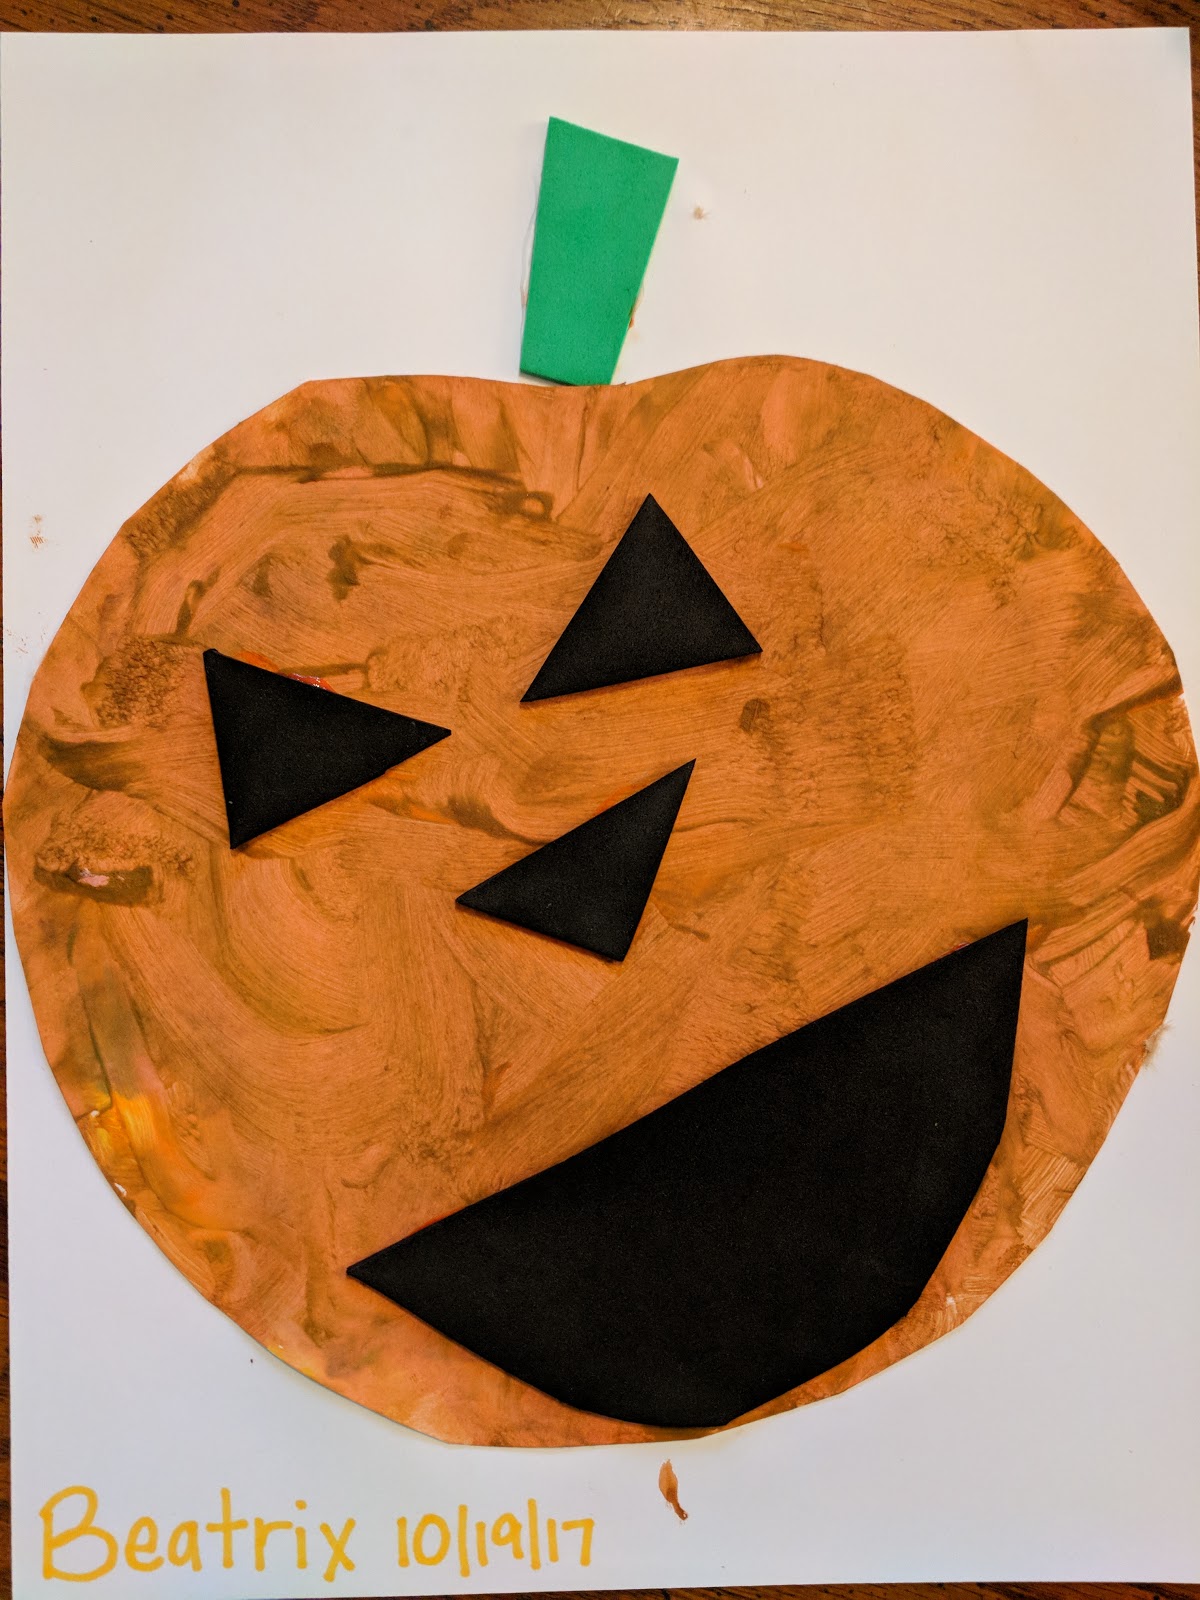
Last week Beatrix and I needed something to do. She had been asking to paint for a few days now, so I wanted to do something with paint. A little quick thinking and this is what I came up with. We both had a blast making this adorable little Jack-O-Lantern!

I cut a piece of paper into a rough pumpkin shape for her to paint. She used yellow and brown in addition to orange (she wanted more than one color.) *tip - a brown paper grocery sack makes an excellent paint mat!*


I told her to fill the whole paper with paint, leaving no white spots. She took this instruction very seriously! She got every last white space using both a brush and her hands. While she painted I cut shapes for his face and a stem out of craft foam. Construction paper would also work well. (An older child would enjoy doing this step for themselves.)


We let the pumpkin dry while we ate lunch, then it was time to give him a face! We talked about where our eyes, nose and mouth are located on our face, to give her an idea of where to put each shape. I had her arrange the face and then I glued each piece on in her chosen location with white glue. I also glued the whole pumpkin to another sheet of paper. I set the whole thing under a heavy book to dry. She was so proud to see it hanging on the wall when she woke up from her nap! 


Thursday, April 27, 2017

Flowering Tree Q-tip Bundle Paint Stamping

Wow, life has been crazy since I last posted. Hopefully I will get back in the swing of things in these next few weeks!

Today Beatrix and I did a painting project!


Isn't it cute? She really did a great job!


I drew a quick tree with a brown crayon (you could cut one out of brown construction paper for added dimension, that would be really cute!)


To make the stamp, take a small handful of q-tips and tape them in a little bundle. I chose pink, green, and white paint. I was going to mix the white with the pink and the green to make them lighter, but I forgot to leave out a q-tip for mixing and Beatrix was getting antsy to start. It got all mixed up anyway!


We started with the tree upside down so she would be more likely to paint the branches. She really got into filling all the white spaces with paint!


So proud of her work! I did direct her just a little bit, I suggested she use green at the bottom like grass and rotated the paper to help her find empty spaces to paint so she didn't have to drag her arms through the fresh paint. But ultimately she was the artist!


The finished product! This would be a great Mother's Day gift for grandma's or an easy project for dad to do with the kids for their mom! I also think it would be fun to do one for each season as they come. This would make a really pretty fall tree with oranges and yellows, don't you think?

I hope I will get back in the habit of posting more often - I have a few fun Spring ideas up my sleeve!

Saturday, December 10, 2016

DIY No-Sew Carseat Poncho (and One for Your Build-A-Bear Too!)


I advocate for a lot of things: breastfeeding, babywearing, cloth diapering, and carseat safety! If you choose not to do the first three, that is your choice and I do not judge you for that. But if you choose to be flippant about carseat safety, that makes me upset. One big rule with carseats is no coats! Last winter we had one of those Cozy Covers on her infant seat and just zipped that over the top. This year it is not so easy. I am not a fan of fussing with the coat on and off in the car. (In fact, many times I don't wear a coat, because I don't like to fuss with it.) This idea seemed so genius to me! A lady in my mom group was making these for some other members and so I decided to make my own version!

  
The first step was choosing the fabric. Beatrix quickly fell in love with this print. She really loves puppies! We went with a solid gray for the back (you could just do one layer if you live somewhere not quite as chilly.) I got 1 yard of each. Since we did two layers this is reversible! Then I measured from her shoulder down to about halfway between her knee and her foot. I doubled that length for my measurement of where to cut. So hers is 1 yard wide by however tall x 2 (I could not find my measuring tape so I just used a string). Mr. Fish suggested we make Cupcake a matching poncho with the extra. Cupcake is the puppy she made at Build-A-Bear on her birthday and she is quite attached. The pictures I took of the process are with Cupcake's poncho, but it all works the same way.

Disclaimer: I tend to just wing things and I did not follow a pattern, nor do I have exact measurements. That is just the way I do things. This was really easy and no-sew fleece projects are very forgiving. You could also hem this instead of tying the edges if you like. I just didn't feel like dragging out my sewing machine. I just put it away last week after finishing up Christmas presents.

Set both of your fabrics on top of each other and cut to the desired size. You could make the end shape a circle or a diamond if you like - make those cuts now. We went with a rectangle for simplicity sake. Next you want to cut the neck hole. Fold the fabric in half the hamburger bun way, then the hot dog bun way. Mark the center and then make a small cut down into the fabric and then across the fold on each side. It should look like the picture below on the right. I just guesstimated the neck hole size, but you could measure the neck of a shirt that fits.


Next, cut each of the triangles that make up the neck hole in half and in half again like you see below.


(Can I just add how I hate cutting fabric with animals or people on it? It is so freaky cutting through their heads and limbs!!!)

Next tie each of those little triangles with the corresponding triangle in the layer below. You could trim the ends if you like. Here it is with the neck hole tied and the fringe cut.


Below on the left is Cupcake's poncho all finished! Cupcake is modeling the print and the gray below in the middle and right pictures, respectively. (She holds more still than Beatrix.)


Above is Bea's finished poncho, folded, like it would be if it were on her. Below it is all laid out.


We also had enough fabric to make a small blanket for Cupcake or her dollies. Below are the two matching cuties! She was not too thrilled that she could not see her arms, but she got used to it quickly.


Here it is in action! The idea is to flip the back up over the back of the carseat, lift the front and buckle underneath that. Keeping your little one warm and cozy AND safe too!


Wednesday, October 26, 2016

Sticky Spiderweb ~ Toddler Craft

I just love doing crafts and Beatrix is at an age where she is able to do some fun process art and I am loving it! Yesterday we both had a great time making this "Sticky Spiderweb"!
I took some strips of packing tape and stuck them together to make a big sheet of stickiness. (Contact paper would be ideal for this, but I didn't have any.) I then taped that to her highchair tray.
I let her feel how the tape was sticky.
Then I gave her some pieces of twine (you could use any yarn or string you have sitting around) and showed her how to stick it down. I ended up cutting the strings much smaller than I had initially made them.

 She enjoyed pulling up the strings almost as much as she liked sticking them down. While she played, I told her about spiderwebs and how the string the spider uses is clear and sticky to catch bugs. I just love her concentrating face!
Here we were just about done with our web. I had her pat it all over to really get the string stuck down. She liked this part! When she lost interest in playing with the string and the sticky, I got her down and pulled up the tape. I cut off the pieces that held it to the tray and taped it onto a piece of construction paper - sticky side down. I added a little spider friend, the date and her name, and then hung it on the wall!
We had such a fun time doing this craft together. I hope you take some time this week to create something with your little ones!