Showing posts with label Halloween. Show all posts

Tuesday, October 31, 2017

Monster Ice Sensory Soup


Halloween-themed sensory fun! Just add some food coloring to water in an ice cube tray and float some googly eyes on the top. Pop them in the freezer. Once frozen, add to some clear water! You could use this as color mixing discovery play as well - use red water and blue ice, for example. Since we did multi-colored ice, our water turned brown.


Beatrix enjoyed whisking the soup, which caused the ice to melt fairly quickly.


She also practiced using her tongs to fish out eyeballs.


Happy Halloween! 

Monday, October 23, 2017

Sticker Pumpkin Activity


Beatrix loves to play with stickers and this is a new and fun way to do just that!

All you need is a pumpkin and some stickers! We used some adorable Halloween stickers we got at a Halloween party we recently attended. Beatrix especially likes that she can peel the stickers up and reposition them over and over.


We have done this activity three or four times now. It is a great project for her to do while I am preparing a meal. She does occasionally need a little help peeling up the stickers, but if I lift the corners of a few of them at a time she is good on her own for a little while.


When she is done, it makes a cute little centerpiece for our table! (And then it is right there ready to go for when she wants to add some more stickers!)


Easy Pumpkin Craft for Toddlers and Preschoolers


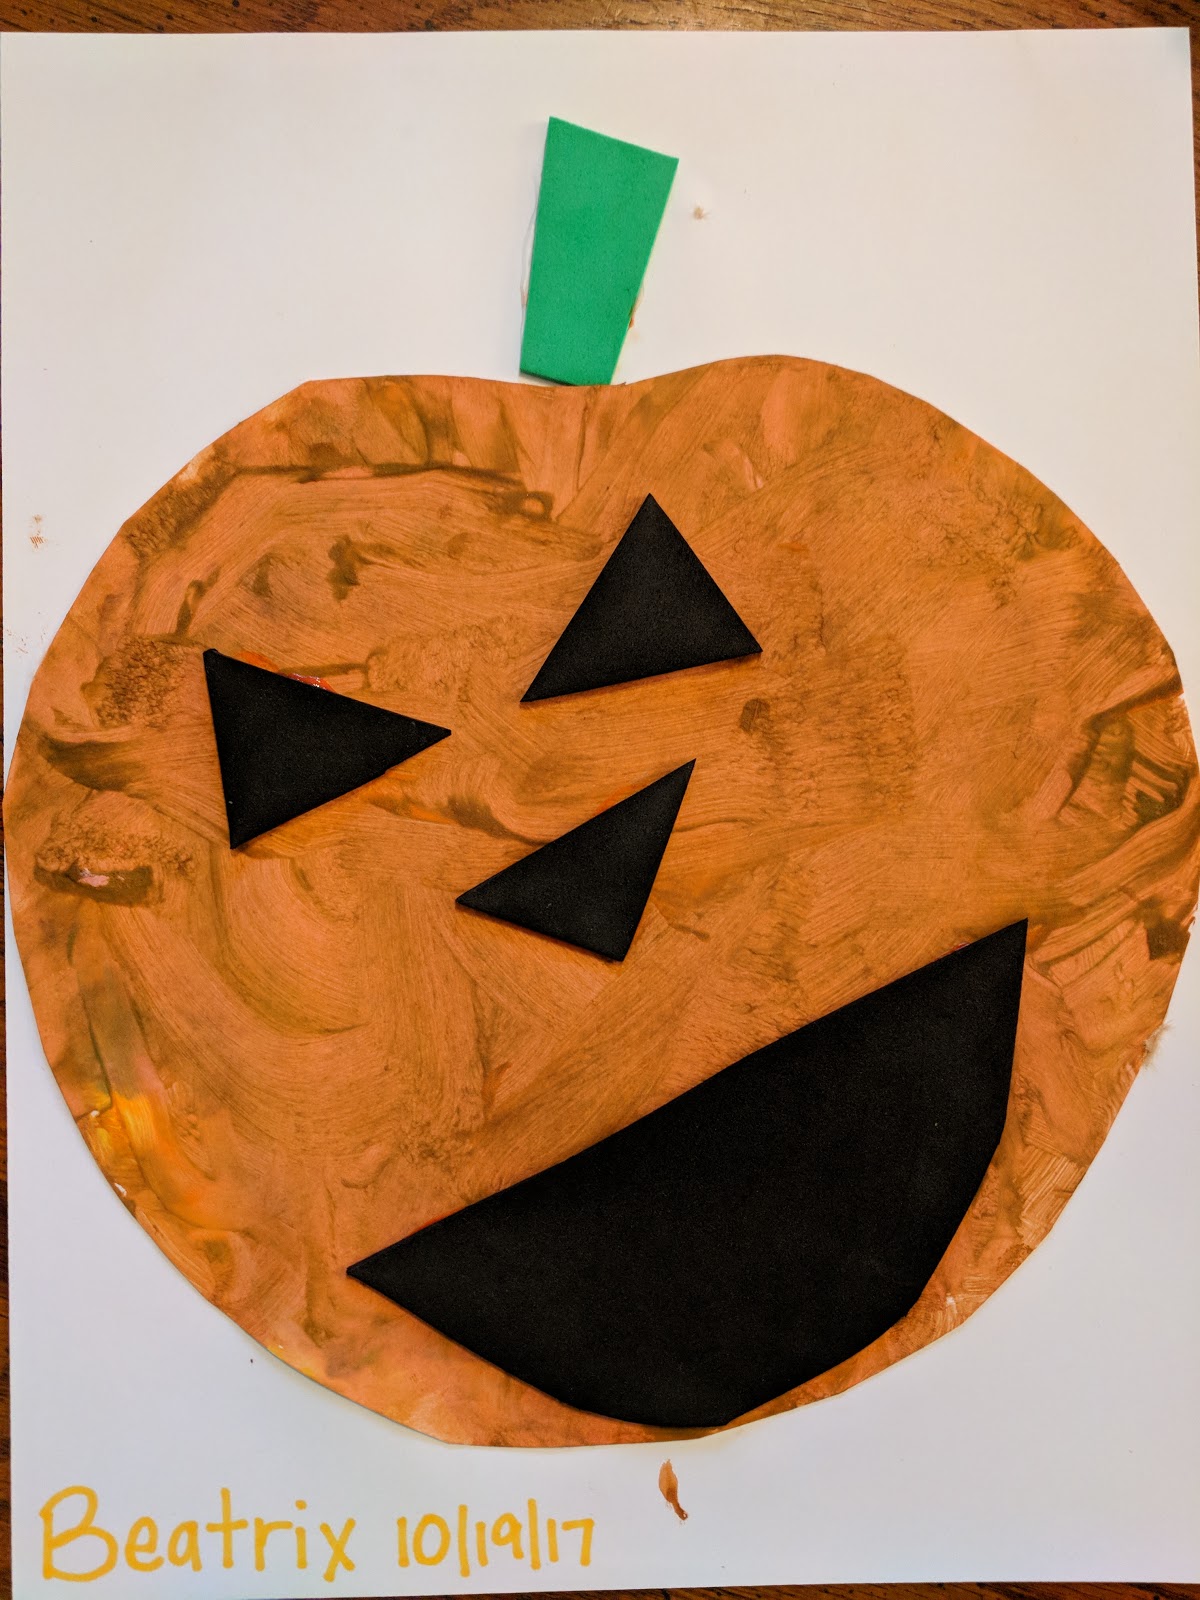
Last week Beatrix and I needed something to do. She had been asking to paint for a few days now, so I wanted to do something with paint. A little quick thinking and this is what I came up with. We both had a blast making this adorable little Jack-O-Lantern!

I cut a piece of paper into a rough pumpkin shape for her to paint. She used yellow and brown in addition to orange (she wanted more than one color.) *tip - a brown paper grocery sack makes an excellent paint mat!*


I told her to fill the whole paper with paint, leaving no white spots. She took this instruction very seriously! She got every last white space using both a brush and her hands. While she painted I cut shapes for his face and a stem out of craft foam. Construction paper would also work well. (An older child would enjoy doing this step for themselves.)


We let the pumpkin dry while we ate lunch, then it was time to give him a face! We talked about where our eyes, nose and mouth are located on our face, to give her an idea of where to put each shape. I had her arrange the face and then I glued each piece on in her chosen location with white glue. I also glued the whole pumpkin to another sheet of paper. I set the whole thing under a heavy book to dry. She was so proud to see it hanging on the wall when she woke up from her nap! 


Monday, October 9, 2017

Halloween Sensory Bin


It has been awhile since my last post, but now that the weather is starting to get cooler again, I should be updating more regularly. We spent the summer outside, learning to slide and teeter-totter, jumping in puddles and going on walks. Beatrix's gross motor skills improved by leaps and bounds this summer as she explored the great outdoors! 


The birth of our son in December, coupled with more time indoors once winter comes, has got me planning easy (and somewhat quiet!) indoor activities to engage and occupy Beatrix. I picked up a nice tub at Walmart for about $10. to use as our sensory bin. It has a tray that fits on top that will come in handy for tools and utensils, and the lid snaps on securely. 

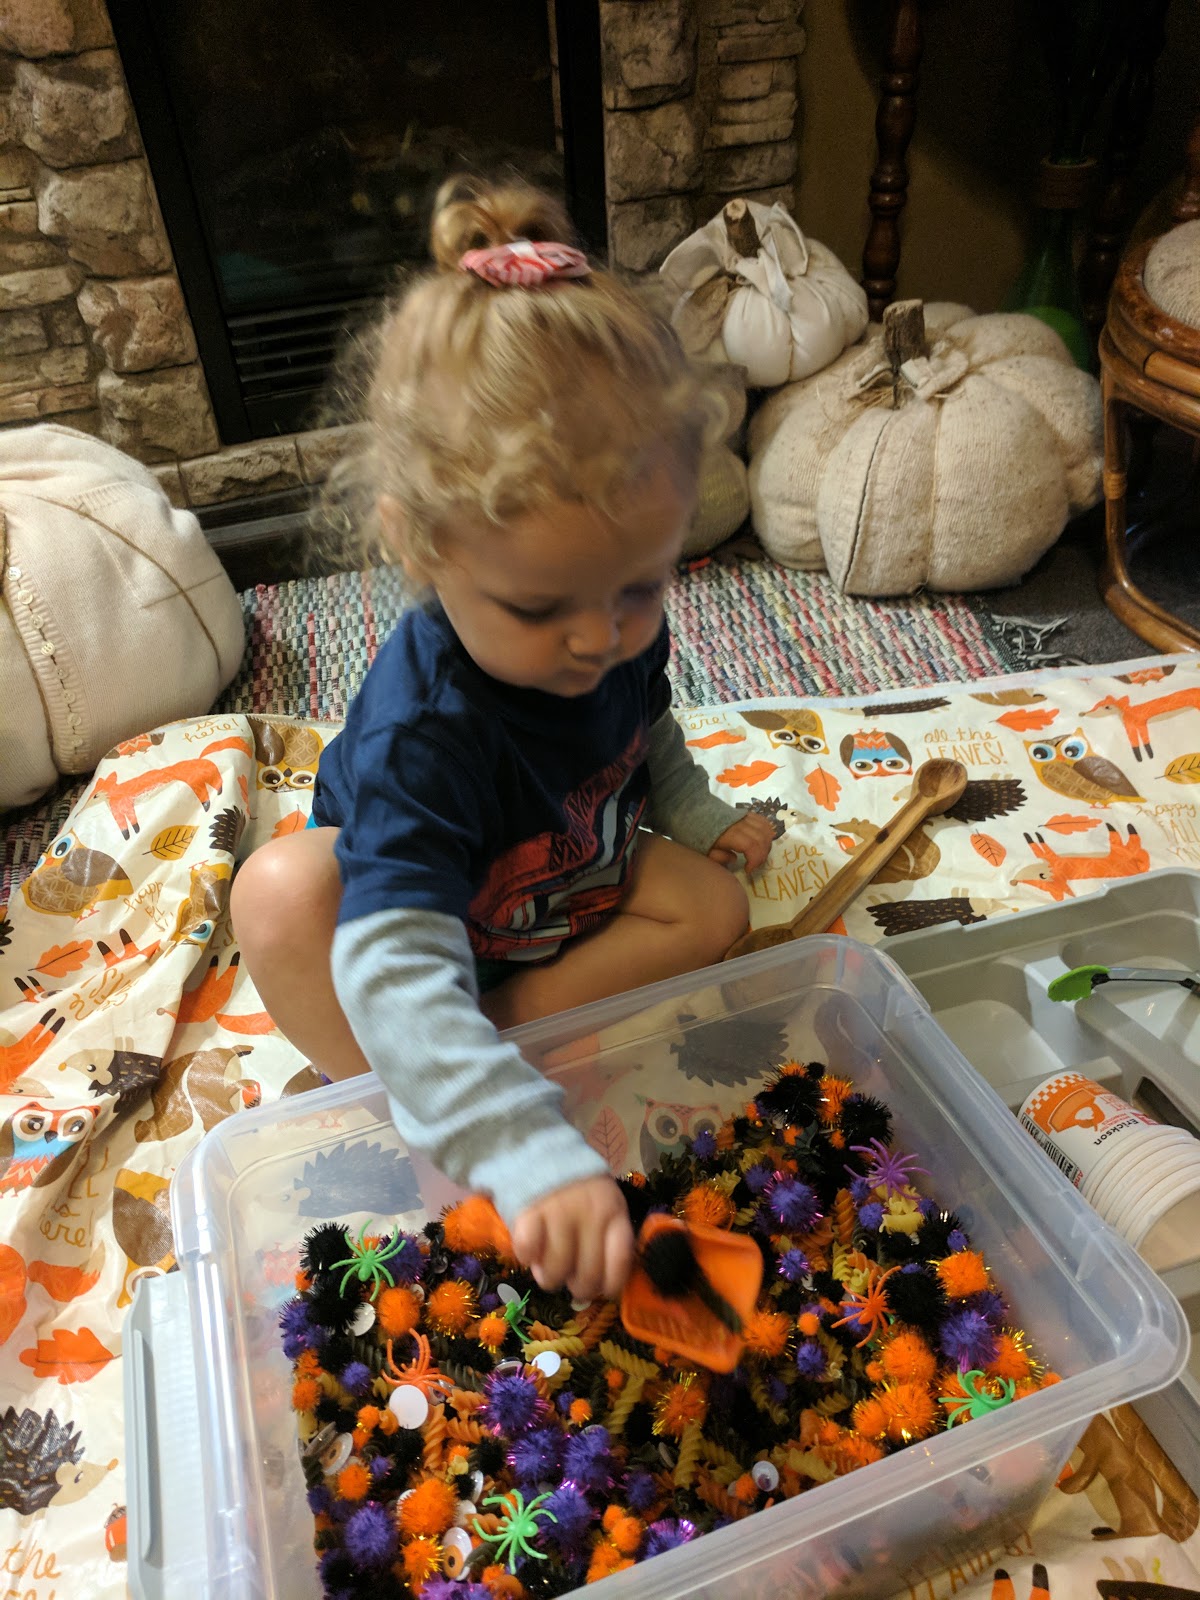
I put together our Halloween sensory bin with items from Dollar Tree!

  • Tri-colored dried pasta noodles
  • Pom-poms in various sizes
  • Googly eyes of various sizes and colors
  • Spider and bat rings
I dumped everything together, gathered some scooping and pouring tools, and waited for the perfect time to introduce this to Beatrix.

I laid a tablecloth out on the floor to give Beatrix a "boundary" as to where she needed to keep the little pieces and also for easy clean-up. I laid everything out while she was otherwise occupied and waited for her. Soon enough she came running over and was very interested in what she saw.


She spent time looking at each "ingredient" in the bin, and then moved on to testing each utensil. She took this as very serious work


After some time, I showed her how she could wear the rings. Beatrix enjoyed rolling the pom-poms between her hands and spent a lot of time doing this (and asking me to do the same.) We enjoyed playing and experimenting with the different materials together.


She thought it was funny to put the googly eyes over her own eyes.


Experimenting with rolling the pom-poms down her leg!


We spent a solid hour and a half playing with this sensory bin, so I'd say it was a big hit!

Thanks for reading and I hope to be back soon with some more fun ideas!


Monday, October 31, 2016

Messy Monday Halloween Edition: Witches' Brew!


I love holiday-themed play, so when I saw that Halloween was going to fall on a Monday this year, my wheels starting turning, This is what I put together for our Halloween-themed messy play: Witches' Brew!

Here is what I used:
1 package of green Jello
1 container of mandarin oranges
1 package of giant googly eyes
3 toy frogs


I prepared the Jello per the package instructions and added in the fruit following the method on the box. When I added the fruit, I also added the google eyes. I poured the whole thing into a plastic cauldron over 3 bath-toy frogs.
I bought the store-brand Jello, but I didn't consider how the box was small, so it didn't fill up much of the cauldron. Also, I was going to have it set up in the cauldron, but it had a hole in the bottom, so that didn't work out how I planned either. But hey - we still had fun!
I didn't get a lot of pictures because once Beatrix got into it she wanted to share and as a result, I got sticky too.


I set it on a pastry mat and some towels to minimize the amount of mopping I would have to do. She actually stayed on the towels so no mopping for me!


I think older kids would really get into this activity. Especially if you had all of the ingredients in different bowls, they could mix and then serve the brew!

Happy Halloween!

Saturday, October 29, 2016

Halloween Sugar Cookies: Part 2.

 Here is a glimpse at the craziness of cookie day!
 I am so grateful that Beatrix gets to bake cookies with her great-grandma, just like I did as a little girl!
 A view from below, thanks to my aunt's glass table-top!
 Playing with some dough.
 Time to frost!
Mr. Fish's "Eye-Scream" cone!

Beatrix really enjoyed playing with the cookie dough and even had a few tastes. She loved eating the frosting too! Don't be afraid to jump in with your littles and let them make a mess! :)

Friday, October 28, 2016

Halloween Sugar Cookies, Part One: The Dough

I have mentioned our family tradition of making Halloween sugar cookies briefly in a previous post. Well, the time has come to make them this year! I will even share The Recipe. I have never tasted a cookie like them and they are my absolute favorite!


Grandma's sugar cookies

2 c sugar
1 c butter
3 eggs
1 c buttermilk or sour milk
1 tsp baking soda
1 tsp baking powder
1 tsp vanilla
1 tsp nutmeg
pinch of salt
About 6 c flour

Roll and cut. Bake at 375 for about 5 minutes on the top rack and 5 on the bottom, rotating pans. Frost when cool.


I was so focused on making the dough, I forgot to take step-by-step pictures. You just make the dough in the typical fashion, adding just enough flour so the dough does not stick to your fingers.


All wrapped up and chilling for tomorrow's fun!

Wednesday, October 26, 2016

Sticky Spiderweb ~ Toddler Craft

I just love doing crafts and Beatrix is at an age where she is able to do some fun process art and I am loving it! Yesterday we both had a great time making this "Sticky Spiderweb"!
I took some strips of packing tape and stuck them together to make a big sheet of stickiness. (Contact paper would be ideal for this, but I didn't have any.) I then taped that to her highchair tray.
I let her feel how the tape was sticky.
Then I gave her some pieces of twine (you could use any yarn or string you have sitting around) and showed her how to stick it down. I ended up cutting the strings much smaller than I had initially made them.

 She enjoyed pulling up the strings almost as much as she liked sticking them down. While she played, I told her about spiderwebs and how the string the spider uses is clear and sticky to catch bugs. I just love her concentrating face!
Here we were just about done with our web. I had her pat it all over to really get the string stuck down. She liked this part! When she lost interest in playing with the string and the sticky, I got her down and pulled up the tape. I cut off the pieces that held it to the tray and taped it onto a piece of construction paper - sticky side down. I added a little spider friend, the date and her name, and then hung it on the wall!
We had such a fun time doing this craft together. I hope you take some time this week to create something with your little ones!